I believe one of the first questions that comes to everyone's mind when you tell them you're building and airplane is, Why? I figure I should answer that question first.
Last October I moved out of my parent's house where I had been living since returning from the Bahamas in 2014. As a sort of christening for my new apartment/ build space I decided to build a 1/6 scale flying model of the Spirit of St. Louis for Flite Fest 2017. Over the intervening 9 months I spent nearly 300 hours constructing this culmination of my aviation and modeling skills to date.
At some point after Flite Fest I realized I had spent 1/6 the time required to build a real airplane in building a 1/6 scale airplane, so rather than building a new model every year, why couldn't/shouldn't I just build a real airplane.
To keep a long, meandering story somewhat concise, I'll just say that I decided the Junior ACE was the airplane for me. I liked the idea of a welded tube fuselage since I wanted to learn to Oxy-weld. I liked the idea of an open cockpit airplane, and knew I wanted something that could seat two and still have a decent useful load. The Pietenpol Air Camper was on the list, but it didn't fit as many of my requirements. I was fortunate enough to find a set of older plans online that had not yet been built from.
Thus begins the saga that will fill this blog. One day it will end in flight.
Last October I moved out of my parent's house where I had been living since returning from the Bahamas in 2014. As a sort of christening for my new apartment/ build space I decided to build a 1/6 scale flying model of the Spirit of St. Louis for Flite Fest 2017. Over the intervening 9 months I spent nearly 300 hours constructing this culmination of my aviation and modeling skills to date.
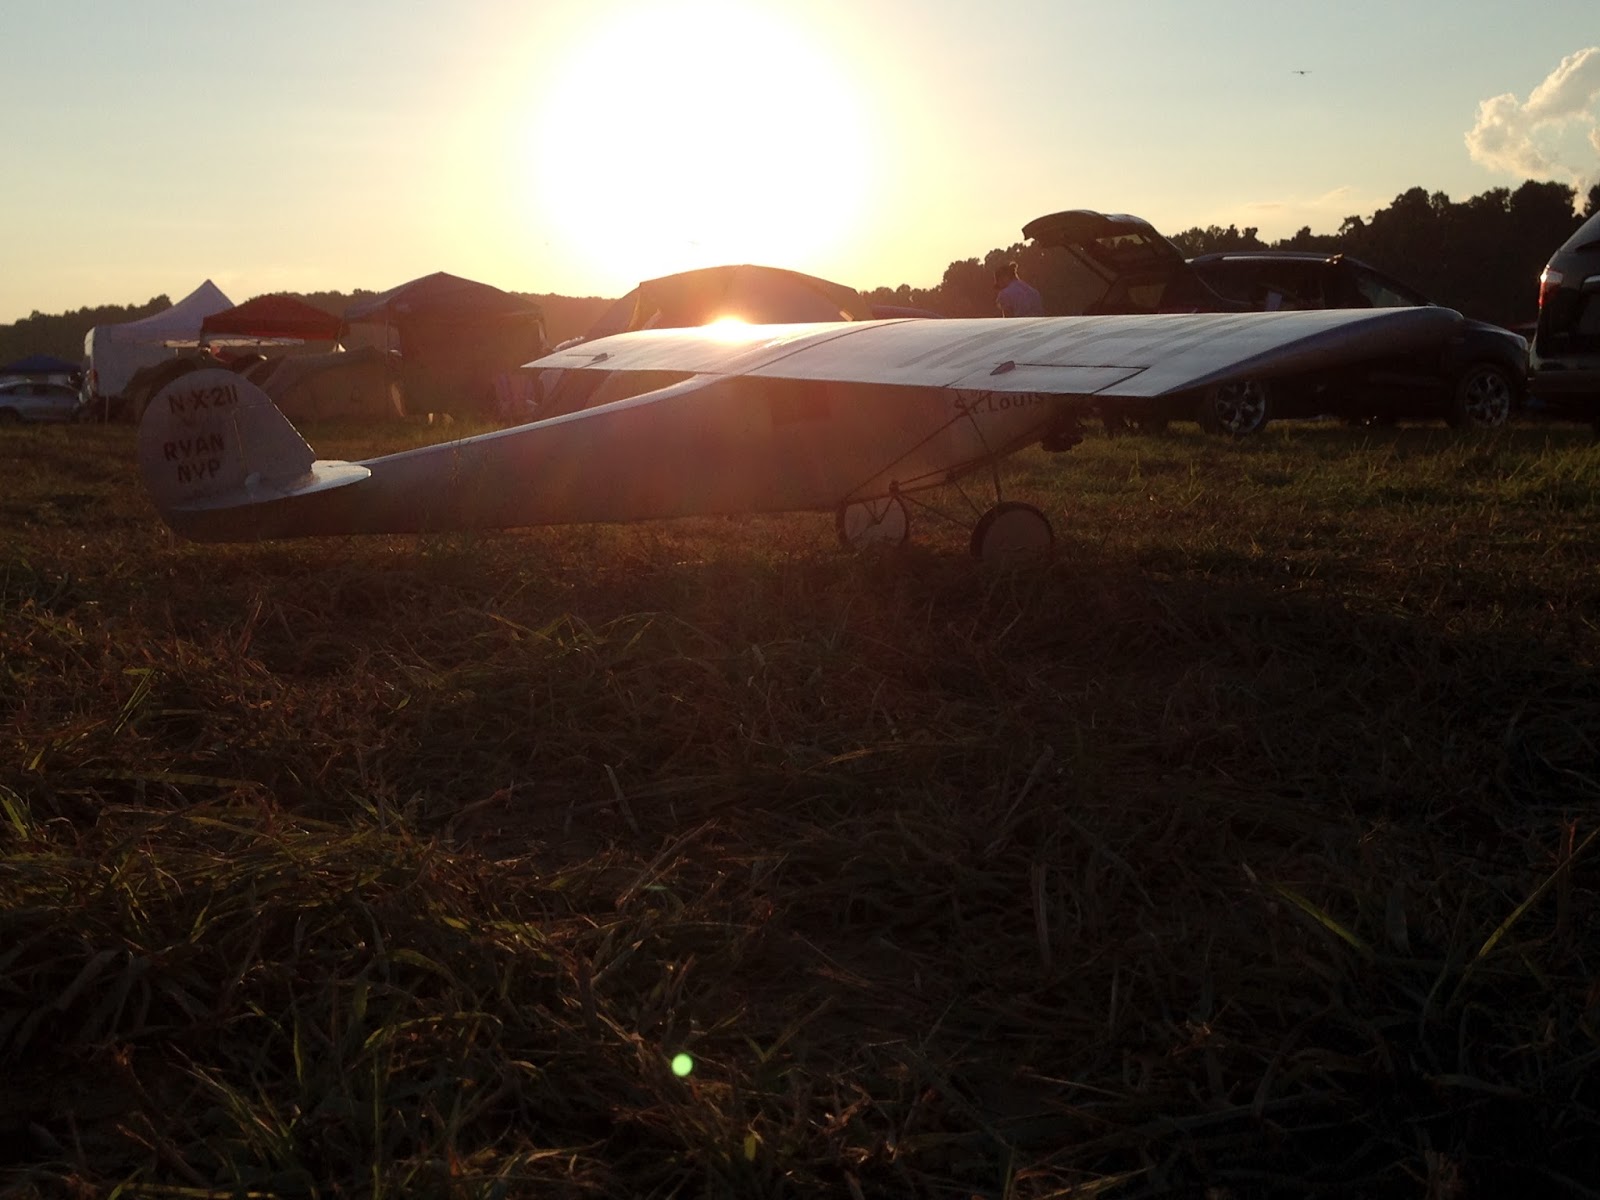 |
| 1/6 scale Spirit of St. Louis at Flite Fest |
At some point after Flite Fest I realized I had spent 1/6 the time required to build a real airplane in building a 1/6 scale airplane, so rather than building a new model every year, why couldn't/shouldn't I just build a real airplane.
To keep a long, meandering story somewhat concise, I'll just say that I decided the Junior ACE was the airplane for me. I liked the idea of a welded tube fuselage since I wanted to learn to Oxy-weld. I liked the idea of an open cockpit airplane, and knew I wanted something that could seat two and still have a decent useful load. The Pietenpol Air Camper was on the list, but it didn't fit as many of my requirements. I was fortunate enough to find a set of older plans online that had not yet been built from.
Thus begins the saga that will fill this blog. One day it will end in flight.
 |
| A Junior Ace. |
Hmmmmmmm.
ReplyDelete